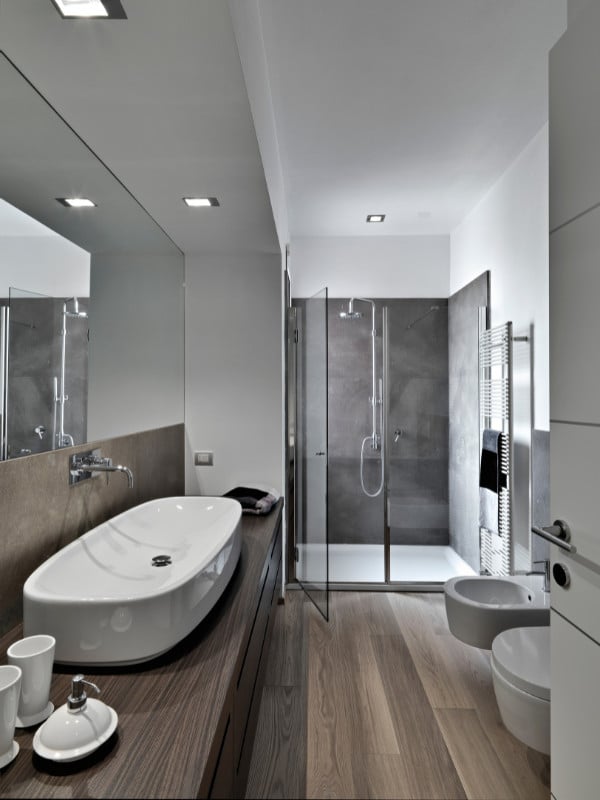
Adhesive residue on shower walls is a common frustration, especially after removing hooks, decals, or temporary fixtures. This residue not only looks unsightly but can also attract grime and dirt over time. If left untreated, it may even damage certain wall surfaces. Knowing how to get adhesive off shower wall safely and effectively can save your walls from harm and restore the clean, polished look of your bathroom.
Removing adhesive doesn’t have to be daunting, but it does require a systematic approach. The challenge lies in breaking down the bond without damaging the wall material, whether it’s tile, fiberglass, acrylic, or glass. Here’s a detailed guide on how to remove adhesive while keeping your walls intact.
Materials You’ll Need
Before getting started, gather these essential tools and cleaning agents:
- Plastic scraper or an old credit card (to avoid scratching surfaces)
- Warm water
- Dish soap
- White vinegar or rubbing alcohol
- Baking soda
- A hairdryer or heat gun (low setting)
- Non-abrasive sponge
- Microfiber cloths
- Adhesive remover, such as Goo Gone (optional, for stubborn adhesive)
These tools and solutions are readily available and safe for most wall materials when used correctly.
Step-by-Step Instructions
1. Prepare the Surface
Start by identifying the material of your shower wall. This is critical as different materials react differently to cleaning methods:
- Tile: Durable and easy to clean but may require grout-safe techniques.
- Fiberglass or Acrylic: More delicate and prone to scratches, requiring gentler handling.
- Glass or Metal: Smooth and non-porous, allowing for easier adhesive removal.
Remove any loose adhesive pieces using your fingers or a plastic scraper. Avoid using sharp tools, which can leave permanent scratches or dents on your wall.
2. Soften the Adhesive
Softening adhesive is crucial to making it easier to remove. Hardened adhesive bonds tightly to surfaces, but heat and moisture can weaken this grip.
- Warm Soapy Water:
Mix warm water with a few drops of dish soap in a bowl. Soak a microfiber cloth in the solution, then press it firmly against the adhesive for five to ten minutes. The warmth and moisture will soften the adhesive. - Use Heat:
If soapy water doesn’t work, use a hairdryer on a low heat setting. Hold it a few inches away from the adhesive to warm it. Heat softens the adhesive, making it pliable without damaging the wall. However, avoid overheating acrylic surfaces, which can warp under high temperatures.
3. Scrape Away the Adhesive
Once the adhesive is softened, it’s time to scrape it away gently:
- Use a plastic scraper or an old credit card to lift the adhesive. Start from the edges and work inward, using light, even pressure.
- On tile walls, you can apply slightly more force, but with fiberglass or acrylic, keep your movements gentle to avoid scratching.
Be patient—this step may take a few passes to remove the bulk of the adhesive.
4. Tackle Residual Adhesive
After scraping, some sticky residue may still be visible. For this, use a cleaning solution that’s safe and effective:
- White Vinegar:
Soak a cloth in white vinegar and rub it on the residue in small circular motions. The acidity of vinegar helps dissolve adhesive without being harsh on surfaces. - Rubbing Alcohol:
Apply rubbing alcohol to a cloth and gently rub the adhesive residue. This works particularly well on smooth surfaces like tiles and glass. - Baking Soda Paste:
Mix baking soda with a small amount of water to create a paste. Apply the paste to the residue and scrub gently with a damp sponge. Baking soda acts as a mild abrasive, making it effective for stubborn spots without causing damage.
5. Rinse and Dry
Once the adhesive and residue are removed, it’s essential to clean the area thoroughly:
- Rinse the wall with clean water using a damp microfiber cloth to remove any remaining cleaning agents.
- Dry the wall with a clean towel or microfiber cloth to prevent water spots or streaks.
This final step ensures your wall is free of both adhesive and cleaning residue.
What to Do for Stubborn Adhesive
If standard methods don’t work, you can try a commercial adhesive remover like Goo Gone. Apply a small amount to a cloth or sponge and dab it onto the adhesive. Let it sit for a few minutes to break down the adhesive, then scrape it off gently. Always follow the manufacturer’s instructions and ensure the product is safe for your wall material.
Preventing Adhesive Build-Up in the Future
While adhesive removal is manageable, prevention is always better. Here are a few tips to avoid dealing with adhesive residue in the future:
- Choose Bathroom-Safe Adhesives: Use hooks and tapes specifically labeled for use in bathrooms, as they’re designed to peel off cleanly.
- Clean Regularly: Adhesive residue becomes harder to remove the longer it sits. Address the issue as soon as it’s visible.
- Protect Surfaces: For tiled walls, applying a protective layer such as car wax can make adhesive removal easier.
When to Call in Professionals
Sometimes, even the best DIY methods may not work. If the adhesive is deeply embedded or your wall material is too delicate, calling in professionals is the safest option. Greenwood cleaners specialize in tackling tough cleaning jobs while protecting your home’s surfaces. Their expertise can save you time and ensure a flawless finish.
Additional Resources
For more information on safe and eco-friendly cleaning practices, visit the EPA’s Safer Choice Program. This program provides valuable guidelines on selecting cleaning products that are both effective and safe for your family and the environment.
With these detailed instructions and preventative tips, you now have the tools and knowledge to tackle adhesive residue on your shower wall effectively. Restore your shower to its clean, inviting state with confidence, and enjoy the satisfaction of a job well done!


