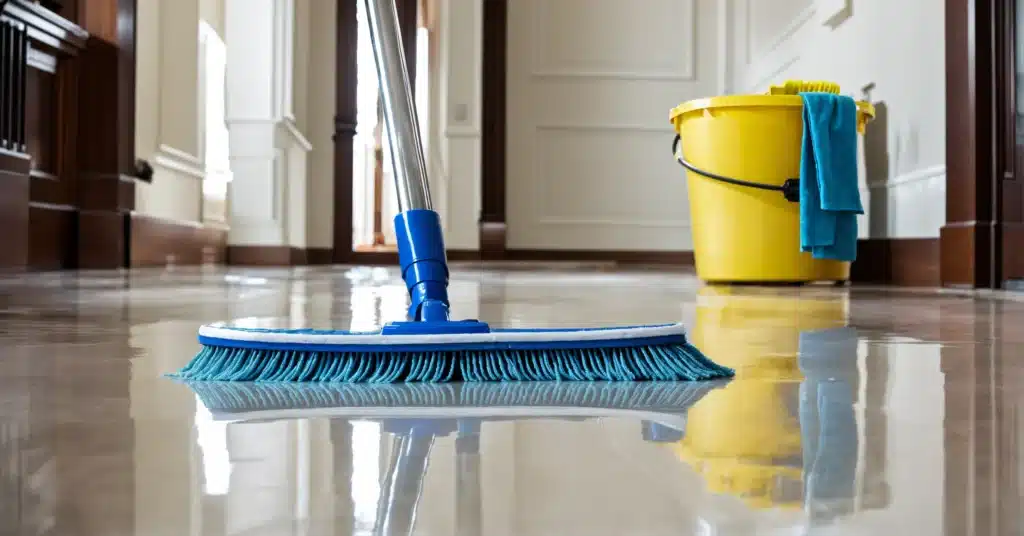
A dust mop is the unsung hero of household cleaning—quietly trapping dust, dirt, and allergens to keep your floors spotless. But what happens when the hero gets bogged down with grime? Learning how to clean a dust mop is key to ensuring it remains your go-to cleaning companion. This step-by-step guide will help you clean and maintain your dust mop, keeping it in peak condition for the long haul.
The Dirty Truth About Dust Mops
Dust mops work by attracting and trapping dirt, but over time, they can become saturated with debris. A clogged mop not only loses its effectiveness but also risks spreading dust instead of collecting it. Regular cleaning ensures your dust mop remains an efficient cleaning tool, ready to tackle even the messiest floors.
Why Cleaning Your Dust Mop Matters
Before diving into the process of how to clean a dust mop, let’s talk about why it’s crucial:
- Efficiency: A clean dust mop picks up more debris and works faster.
- Hygiene: Dust mops that aren’t cleaned can harbor allergens, bacteria, and unpleasant odors.
- Longevity: Proper maintenance extends the life of your mop, saving you money in the long run.
Think of it this way: You wouldn’t clean your dishes with a dirty sponge, so why clean your floors with a dusty mop?
Tools and Supplies You’ll Need
To clean your dust mop, gather the following:
- Vacuum or Broom: To remove loose debris.
- Mild Detergent or Dish Soap: For handwashing.
- White Vinegar: A natural cleaner for extra grime.
- Warm Water: Essential for soaking.
- Soft Brush or Comb: To remove tangled hair and dirt.
- Washing Machine (Optional): For machine-washable mop heads.
- Drying Rack or Clothesline: To air-dry the mop head completely.
With the right tools, cleaning your dust mop becomes a breeze.
Step-by-Step Guide: How to Clean a Dust Mop
Step 1: Shake It Out
Start by taking your dust mop outside and giving it a good shake. This will dislodge loose dirt and debris. If the mop head is removable, you can also tap it gently against a hard surface.
Step 2: Remove Embedded Dirt
Use a soft brush or comb to remove hair, lint, and other particles tangled in the mop fibers. Be gentle to avoid damaging the strands.
Step 3: Hand Wash the Mop Head
If your dust mop is washable, prepare a cleaning solution:
- Fill a sink or bucket with warm water.
- Add a small amount of mild detergent or dish soap.
- Optional: Add a splash of vinegar for natural deodorizing and extra cleaning power.
Submerge the mop head and agitate it gently to loosen dirt. Rinse thoroughly with clean water to remove all soap residue.
Step 4: Machine Wash (If Allowed)
For mop heads labeled machine-washable:
- Place the mop head in a mesh laundry bag to prevent tangling.
- Wash on a gentle cycle with mild detergent.
- Skip the fabric softener—this can coat the fibers and reduce dust-trapping ability.
Step 5: Rinse and Dry
After washing, rinse the mop head thoroughly with warm water to ensure no detergent remains. Then, gently squeeze out excess water without twisting or wringing, which can damage the fibers.
Step 6: Air Dry Completely
Hang the mop head on a drying rack or clothesline in a well-ventilated area. Avoid using a dryer, as high heat can warp the mop fibers.
Maintenance Tips to Keep Your Dust Mop in Top Shape
- Clean After Every Use: A quick shake or brushing after each cleaning session helps prevent buildup.
- Store Properly: Keep your dust mop in a dry, dust-free environment to prevent contamination.
- Replace When Necessary: Over time, even the best-maintained mop head will wear out. Replace it when the fibers become frayed or less effective at trapping dust.
Special Care for Oiled or Non-Washable Dust Mops
If you have an oiled or non-washable dust mop, cleaning requires a different approach:
- Use a damp cloth to wipe the mop head gently, avoiding full submersion.
- Reapply a dust mop treatment spray as needed to restore its dust-trapping capabilities.
The Benefits of a Clean Dust Mop
A clean dust mop ensures:
- Better Performance: Efficiently traps and removes dust without leaving streaks.
- Healthier Home: Reduces allergens and promotes better indoor air quality.
- Cost Savings: Extends the life of your mop, so you don’t have to replace it as often.
Cleaning your dust mop might feel like one more chore, but the rewards far outweigh the effort.
Conclusion
Knowing how to clean a dust mop is essential for maintaining its effectiveness and extending its life. By following these simple steps, you’ll ensure your mop remains a reliable cleaning tool, keeping your floors spotless and your home healthier.
If the idea of managing cleaning tools and routines feels overwhelming, Family First is here to help. Their professional cleaning services in Denver can take care of your home’s cleaning needs, giving you more time to enjoy a dust-free space.
Regular maintenance of your dust mop isn’t just about cleanliness—it’s about making life a little easier, one clean sweep at a time.


